How to organize a DIY project starts with one thing: a plan.
You might have the tools, the time, and even the vision—but without structure, your project can quickly go sideways. Knowing how to organize a DIY project helps you stay on time, under budget, and out of stress mode.
Let’s break it down into clear, manageable steps so you can go from “great idea” to “great results.”
🎯 Step 1: Define the Goal and Scope
Start by answering these key questions:
- What exactly are you building or repairing?
- What will the finished project look like?
- Does it require demolition, installation, or both?
- Are there any hidden risks (like water or electrical issues)?
Write it down. A clear project scope keeps you focused and prevents “project creep.”
💵 Step 2: Set a Realistic Budget
Even the simplest DIYs can get expensive if you’re not prepared.
Include the following:
- Materials and supplies
- New tools or rentals
- Safety gear (goggles, gloves, etc.)
- A 10–15% cushion for surprises
Use a spreadsheet or budget app to stay organized from the start.
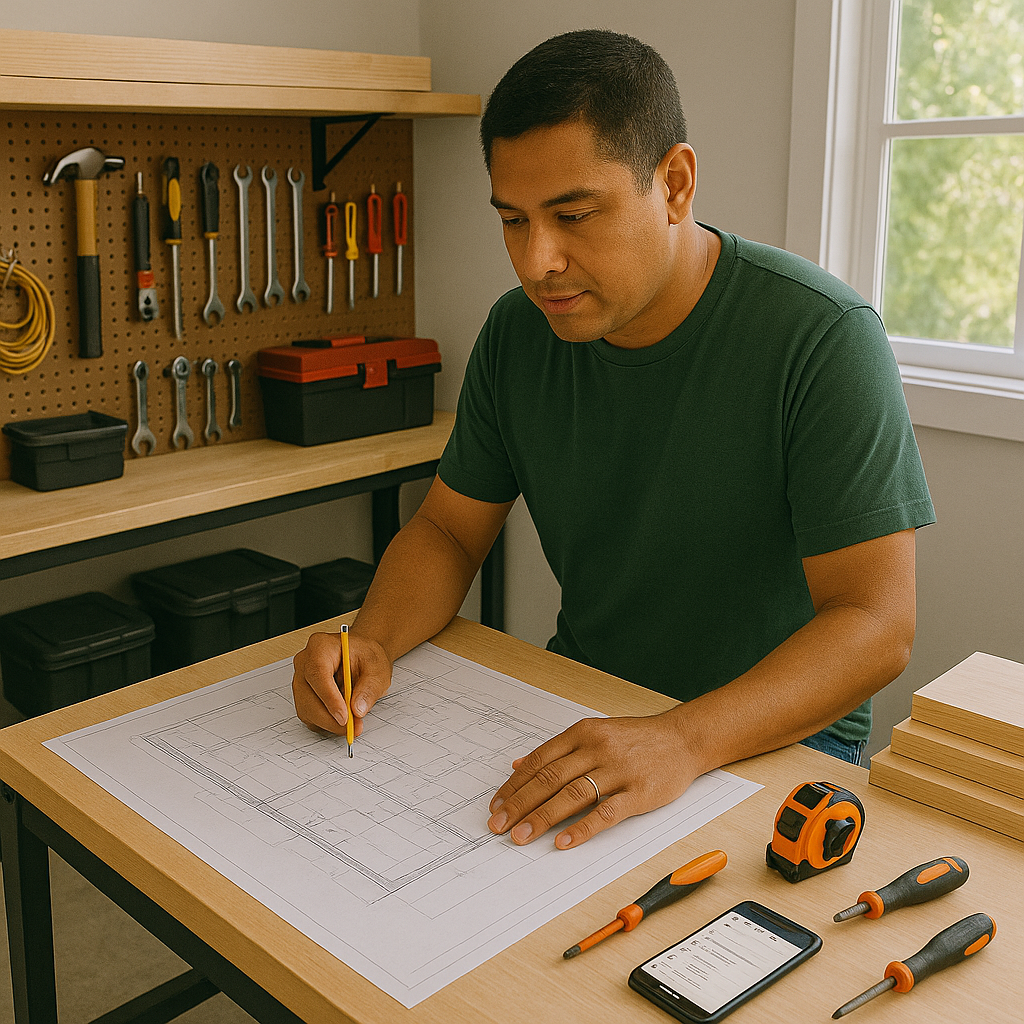
🧱 Step 3: Sketch and Visualize the Project
Before you buy anything, draw it out.
Use:
- Graph paper for quick sketches
- Tape layouts on the floor or wall for real-world visuals
- Free digital tools like RoomSketcher or SketchUp
This helps catch size or space issues before they become costly mistakes.
🧰 Step 4: Make a Materials and Tool List
Now it’s time to list what you need.
Materials list includes things like:
- Wood, paint, tile, drywall
- Nails, screws, glue, brackets
Tool list might include:
- Power drill
- Tape measure
- Stud finder
- Caulk gun
- Level
🛒 You can stock up affordably at Menards or Lowe’s.
⏱️ Step 5: Break the Project into Phases
Tackling the project in stages keeps it from getting overwhelming.
🔹 A: Prep Work
- Clear the area
- Protect floors or furniture
- Shut off water or power if needed
🔹 B: Demo or Build
- Safely remove old materials
- Start structural work
🔹C: Install & Assemble
- Put up drywall, tile, or hardware
🔹D: Finish Work
- Paint, caulk, clean, and seal
🔹E: Clean Up
- Toss debris
- Recycle where possible
- Store tools properly
📅 6: Set a Project Schedule
DIY projects often expand if you don’t set boundaries.
To stay on track:
- Block time on your calendar
- Set realistic goals for each phase
- Stick to a simple timeline (e.g., “Install trim on Saturday morning”)
Consistency beats intensity when it comes to progress.
🛡️ Step 7: Prioritize Safety
DIY doesn’t mean cutting corners. Play it safe by:
- Wearing proper PPE (gloves, goggles, mask)
- Using tools according to manufacturer instructions
- Pulling permits when required
- Leaving high-risk work (gas, structural, electrical panels) to the pros
🏁 Final Step: Celebrate and Document
Take before-and-after photos, clean your tools, and maybe even reward yourself with a cold drink. You earned it.
🚀 Final Thoughts: Plan First, Build Better
When you learn how to organize a DIY project, you avoid chaos, overspending, and burnout. From prep to paint, smart planning turns good projects into great ones.
Need more expert advice, tool reviews, or checklists? Check out ChilllDIY.com for everything DIY, homeowner hacks, and project planning guides.