Feeling overwhelmed by that leaky faucet, squeaky floorboard, or crooked cabinet door? Don’t worry—you’re not alone. But the truth is, most home issues look more intimidating than they really are. With the right home repair step-by-step instructions, you can tackle common problems like a seasoned pro.
Let’s lay out a blueprint for solving your own repair challenges—without hiring help, wasting money, or turning your home into a construction zone.
Why a Step-by-Step Method Works
Jumping into a repair without a clear plan can lead to frustration—and bigger messes. Using a structured process helps you:
- Stay focused
- Save time
- Avoid mistakes
- Learn as you go
Each project becomes manageable when you follow a logical order. Here’s how to break it down.
Step 1: Identify the Real Problem
Start by diagnosing the issue. Ask:
- What’s not working?
- When did it start?
- Is it getting worse?
- What could be causing it?
For example, if a light won’t turn on, check the bulb first. Then test the switch. Finally, check the circuit breaker.
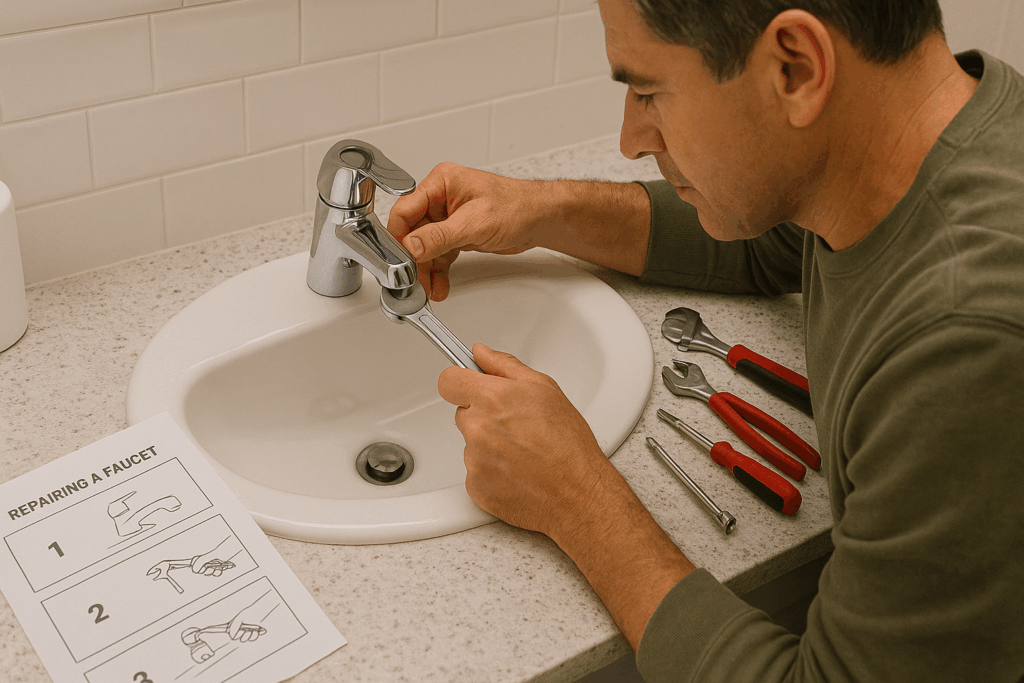
Step 2: Gather the Right Tools
Before you touch anything, make sure you’ve got the gear. For most repairs, you’ll need:
- Screwdrivers
- Pliers
- Utility knife
- Cordless drill
- Wrenches
- Measuring tape
- Level
- Flashlight
🛠️ Tip: Build your toolkit over time by checking deals at Menards or Amazon.
Step 3: Prep the Work Area
A clean, well-lit space reduces mistakes. Here’s what to do:
- Clear clutter
- Lay down drop cloths or towels
- Shut off power or water as needed
- Keep tools within reach
If you’re working on plumbing or electrical, safety comes first—use gloves, goggles, and always double-check breakers and valves.
Step 4: Follow the Instructions (or This Blog)
Now the magic happens.
Let’s say you’re fixing a door that won’t close right:
- Inspect the hinges – Tighten screws or replace worn-out ones.
- Check the alignment – Use a level to see if the door is warped.
- Plane the edge – If it still sticks, sand or shave the edge lightly.
- Test and adjust – Open and close several times. Make fine adjustments.
Apply this kind of logical progression to any task—from patching drywall to replacing a sink trap.
Step 5: Test Your Work
Never walk away from a repair until you test it.
- Flush the toilet
- Flip the switch
- Run the water
- Open and close the door
- Check for leaks, noises, or loose parts
If something’s still off, backtrack and troubleshoot.
Step 6: Clean Up Like a Pro
A good DIYer leaves no trace (except the fixed problem). When you’re done:
- Return tools to your kit
- Wipe up dust and debris
- Reseal gaps or paint over repairs
- Safely dispose of old parts
Keeping your workspace tidy also encourages you to take on the next project confidently.
Step 7: Record What You Did
This step is often overlooked, but incredibly helpful.
- Snap a few before/after pics
- Note what tools and parts you used
- Write down the date of repair
- Save it in a home maintenance log or app
You’ll thank yourself later when the issue pops up again—or when it’s time to sell your home.
Projects You Can Start With Today
Try these beginner-friendly tasks using the step-by-step method:
- Unclog a slow drain
- Replace a cabinet knob
- Re-caulk your bathtub
- Rehang a misaligned door
- Swap out an old thermostat
- Touch up chipped wall paint
Need more ideas? Visit ChilllDIY.com
for guides, tool lists, and walkthroughs.
In Conclusion: Fix It Right, Fix It Once
A home repair step-by-step process gives you control, confidence, and a finished result you’ll be proud of. Whether you’re dealing with a minor fix or a mid-size project, breaking it down into manageable parts makes every challenge doable.
Once you master the process, you won’t just fix your home—you’ll improve it.