When something breaks in your home, you don’t need to panic—or call a pro right away. With the right guidance, you can tackle many fixes yourself. This home repair step-by-step guide is perfect for DIYers who want to save money, build skills, and get the job done right.
We’ll walk you through common repairs around the house, complete with tips and tools to make things smooth, safe, and successful.
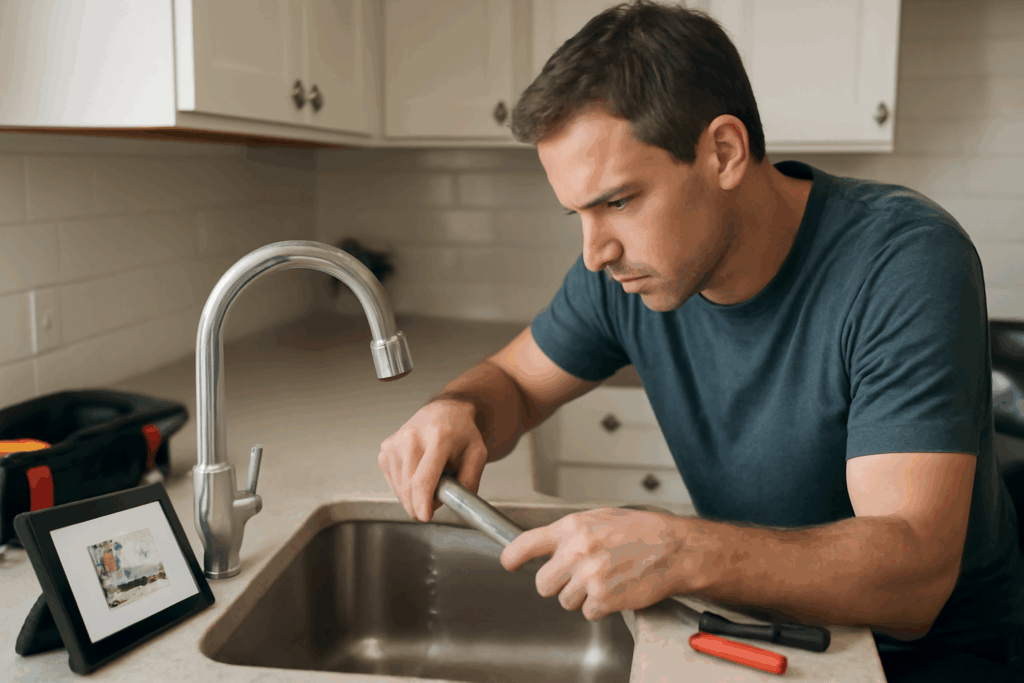
Step-by-Step Repair for a Leaky Faucet 🚰
A dripping faucet wastes water and runs up your utility bill. Here’s how to fix it:
Tools You’ll Need:
- Adjustable wrench
- Replacement washer or cartridge
- Screwdriver
- Plumber’s grease
Steps:
- Turn Off Water Supply – Look under the sink and twist the shut-off valves clockwise.
- Plug the Drain – Prevent small parts from falling in.
- Disassemble the Faucet – Remove the handle and unscrew the packing nut.
- Inspect and Replace Parts – Check the washer or cartridge. If it’s cracked or worn, replace it.
- Reassemble and Test – Grease the new parts, put the faucet back together, and turn the water on.
✅ Pro Tip: If your faucet still leaks, you may need to reseat the valve or replace the entire stem.
Step-by-Step Drywall Hole Patch 🛠️
Holes in drywall are common—especially in high-traffic areas. Here’s a simple fix:
What You Need:
- Sandpaper
- Spackle or joint compound
- Putty knife
- Paint to match the wall
Steps:
- Clean the Area – Use a cloth to wipe away dust.
- Apply Spackle – Fill the hole using the putty knife. For larger holes, use a mesh patch.
- Let It Dry – Follow the product’s instructions (usually a few hours).
- Sand Smooth – Use fine-grit sandpaper to blend the patch with the wall.
- Paint – Match the existing wall color and touch up the patch.
✅ Pro Tip: Feather the edges of your paint to blend it better.
Step-by-Step Toilet Fix for Constant Running 🚽
If your toilet never stops running, you’re wasting water and money. Here’s the fix:
Tools:
- New flapper
- Adjustable pliers
- Sponge
Steps:
- Shut Off the Water – Turn the valve at the base of the toilet.
- Drain the Tank – Flush and use a sponge to remove remaining water.
- Replace the Flapper – Disconnect the old one and snap in the new.
- Adjust Chain Length – Make sure there’s just a little slack.
- Test – Turn the water back on and flush.
✅ Pro Tip: If water still runs, check the float height or replace the fill valve.
Safety Tips for DIY Repairs 🦺
- Always turn off power or water before starting a job.
- Wear gloves and safety glasses.
- Read all labels and instructions on repair products.
- If something seems unsafe or unfamiliar, don’t guess—look it up or get help.
Tools Every DIYer Should Own 🔧
- Cordless drill
- Hammer
- Level
- Tape measure
- Utility knife
- Stud finder
Check out toolkits at Home Depot or Lowe’s to gear up.
Final Thoughts: Mastering Home Repair Step-by-Step
Tackling repairs yourself isn’t just empowering—it saves serious cash and builds lifelong skills. By following a home repair step-by-step approach, you minimize mistakes and boost confidence with every project.
Keep learning, keep fixing, and visit ChilllDIY.com for more how-to guides and expert DIY insights!