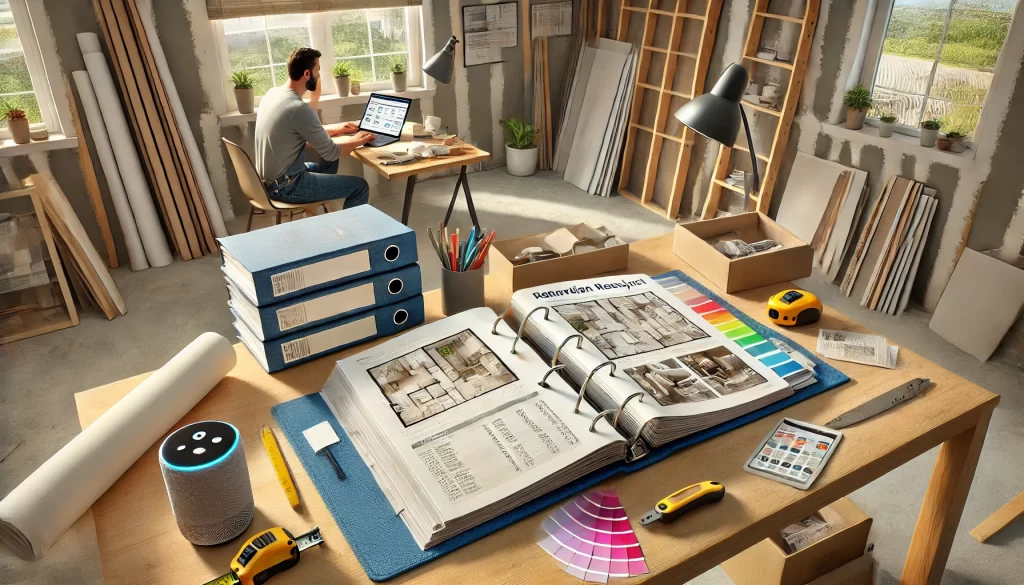
Whether you’re redoing a bathroom, building a deck, or just trying to finally fix that wobbly cabinet, one thing is certain—a home project organizer can make or break your success.
It’s the secret weapon behind smooth DIY projects, stress-free contractor collaborations, and a home that actually gets finished. No more sticky notes, lost receipts, or forgotten measurements. A good system keeps your tools sharp and your head clear.
Let’s dive into how to build your own home project organizer—digital or physical—and why you’ll never want to tackle a project without it again.
Why You Need a Home Project Organizer
DIY home improvement comes with a hundred moving parts. A proper organizer helps you:
- Track materials and receipts
- Manage timelines and to-do lists
- Record measurements and floorplans
- Store inspiration photos and color swatches
- Communicate with contractors and pros
It keeps your goals, budget, and sanity in check—even during drywall dust chaos.
Step 1: Choose Your Format
Digital Organizers
Perfect for tech-savvy DIYers. Use apps like:
- ChilllDIY.com
- Pinterest or Canva for visual inspiration
These tools let you collaborate with your spouse, contractor, or handyman from anywhere—even during a hardware store run.
Paper-Based Organizers
Prefer the tactile route? Grab:
- A sturdy binder with tabs
- Sheet protectors for receipts
- Graph paper for sketches
- Zipper pouch for samples or paint chips
- A calendar to track milestones
Pro Tip: Keep it on a clipboard and hang it on the fridge or in your workshop so it’s always within reach.
Step 2: Organize by Room or Project Type
Split your organizer into sections like:
- Kitchen Remodel
- Backyard Upgrades
- Plumbing Repairs
- Seasonal Maintenance
- Smart Home Additions
This helps you find info quickly and track progress over time. It’s also a lifesaver when juggling multiple projects at once.
Step 3: What to Include in Each Section
Make every section useful by adding:
- ✅ Scope of work – What needs doing
- 💰 Budget and actual costs – Stay on track
- 📅 Timeline – Start, due dates, and buffer zones
- 🧰 Tools and materials list – With links or stores like Menards or Lowe’s
- 📝 Notes and tips – Like “Don’t forget stud finder!”
- 🖼️ Before/after photos – For bragging rights
Step 4: Keep Your Receipts and Warranties in One Spot
Tired of digging through junk drawers six months after a project? Dedicate a section in your organizer for:
- Receipts
- Warranty info
- Product manuals
- Paint codes and swatches
That way, if something breaks, chips, or fails—you’re ready.
Step 5: Use It During and After the Project
A home project organizer isn’t just prep—it’s a working companion.
- Use it to record changes in real-time.
- Snap photos of hidden plumbing or wiring before drywall goes up.
- Track how long tasks actually take (so you plan better next time).
Even better? When it’s all done, you’ll have a complete home improvement record. Future you (or a future buyer) will thank you.
Bonus: Share It with Your Contractor
If you’re working with a pro, an organizer makes collaboration smoother:
- Share your goals, budget, and visuals upfront
- Track changes and approvals
- Avoid “I thought you said…” confusion
It’s not just a binder or app—it’s your project’s brain.
Ready to Get Organized?
Your next renovation doesn’t need to feel chaotic. Build a simple, powerful home project organizer and take control from day one.

