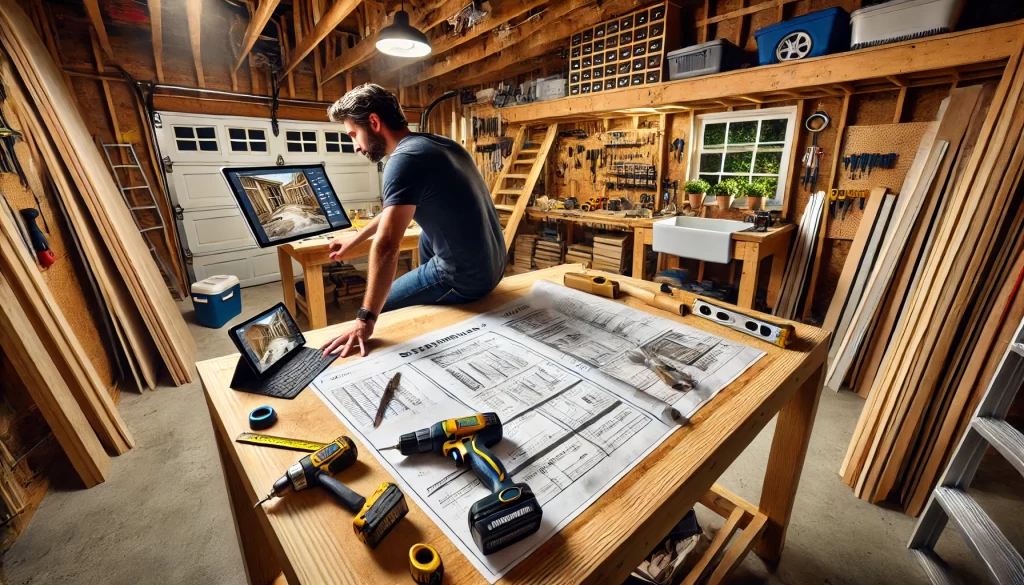
Tackling home upgrades without a clear plan is like building a house without a blueprint—messy, costly, and stressful. That’s why every DIYer needs a solid home improvement planner and the help of http://www.chillldiy.com. With the right system in place, your next project won’t just get done—it’ll get done right.
Let’s break it all down so you can plan like a pro, stay on budget, and actually enjoy the process.
Why Every DIYer Needs a Planning System
Keep Your Projects on Track
Without structure, even small fixes can snowball. A home improvement planner helps you:
- List tasks in logical order
- Estimate timelines accurately
- Reduce last-minute hardware store runs
This saves time and prevents mid-project burnout.
Stay Within Budget (And Maybe Even Under It)
One of the biggest DIY mistakes? Not tracking costs. By using a planner, you can:
- Forecast expenses for materials and tools
- Build in buffer cash for surprises
- Compare costs with local pricing (try Lowe’s or Home Depot for estimates)
When you plan every purchase, your wallet will thank you.
What to Include in Your Home Improvement Planner
A Clear Project Vision
Write out the “why” behind your project. Whether it’s updating a bathroom for better function or creating a cozy patio space, this sets the tone for everything else.
Scope of Work Breakdown
Use bullet points or a flowchart to detail:
- Demolition (if any)
- Repairs or rough-ins (plumbing, electrical, HVAC)
- Installations
- Finishing touches (paint, trim, décor)
Material and Tool Checklist
Include:
- Brands/models you want to buy
- Quantities needed
- Supplier info
- Rental vs. purchase notes (especially for things like tile saws or drywall lifts)
This avoids project pauses due to missing gear.
Timeline with Milestones
Use weeks or weekends as your timeline units. Include checkpoints like:
- “Framing complete”
- “Drywall up and ready for paint”
- “Cabinet install done”
Each milestone helps you see progress and adjust for delays.
Digital vs. Paper Planners—Which is Best?
Digital Planners
Apps like Trello, Notion, or Google Sheets are awesome for:
- Real-time updates
- Cost-tracking formulas
- Sharing plans with others
Bonus: You can include links to product pages or how-to videos from Amazon.
Paper Planners
Still love the feel of pen and paper? You’re not alone. A physical planner:
- Helps you visualize timelines with sketches
- Is always available—no batteries required
- Works great in dusty or outdoor areas
Pro tip: Use a binder with dividers for different rooms or phases.
Tips to Stay Organized Mid-Project
- Color-code your planner: For example, use red for plumbing tasks, green for paint, etc.
- Take photos of progress: Tape printed snapshots into your planner for visual tracking.
- Include a “lessons learned” page: After each project, jot down what worked and what didn’t.
These small steps lead to long-term DIY mastery.
Start Planning Smarter, Not Harder
No matter your skill level, using a home improvement planner levels up your entire project. It transforms you from a hobbyist into a home-renovating powerhouse. So, before you swing a hammer, open your planner.
Looking for more DIY wisdom? Check out other homeowner guides on Chilll.com—your HQ for doing it all yourself.

