Tackling a home improvement project without a DIY project planner is like trying to build a house without a blueprint—it’s a recipe for frustration, delays, and costly mistakes. Whether you’re remodeling a kitchen, installing new flooring, or crafting custom furniture, a well-organized plan will keep your project on track and within budget.
Why You Need a DIY Project Planner
A DIY project planner helps you:
- Organize materials, tools, and steps before starting.
- Stick to a budget by tracking costs.
- Stay on schedule by setting realistic deadlines.
- Avoid common mistakes that can lead to costly do-overs.
With a plan in place, you’ll work smarter—not harder.
Step 1: Define Your DIY Project
Before you start buying materials or swinging a hammer, clearly define your project:
- What do you want to achieve? Be specific. Instead of saying, “I want a nicer kitchen,” say, “I want to replace cabinets, install a farmhouse sink, and update the backsplash.”
- What’s your budget? Factor in materials, tools, and unexpected costs.
- What’s your timeline? Consider how long each phase will take, from demolition to finishing touches.
Step 2: Gather Inspiration and Research
Browse online platforms like Pinterest, YouTube, and home improvement blogs for ideas. Take note of:
- Design styles that match your vision.
- Materials that fit your budget and durability needs.
- Techniques and tutorials to learn new skills.
Pro tip: Visit home improvement stores like Home Depot or Lowe’s to see materials in person before committing.
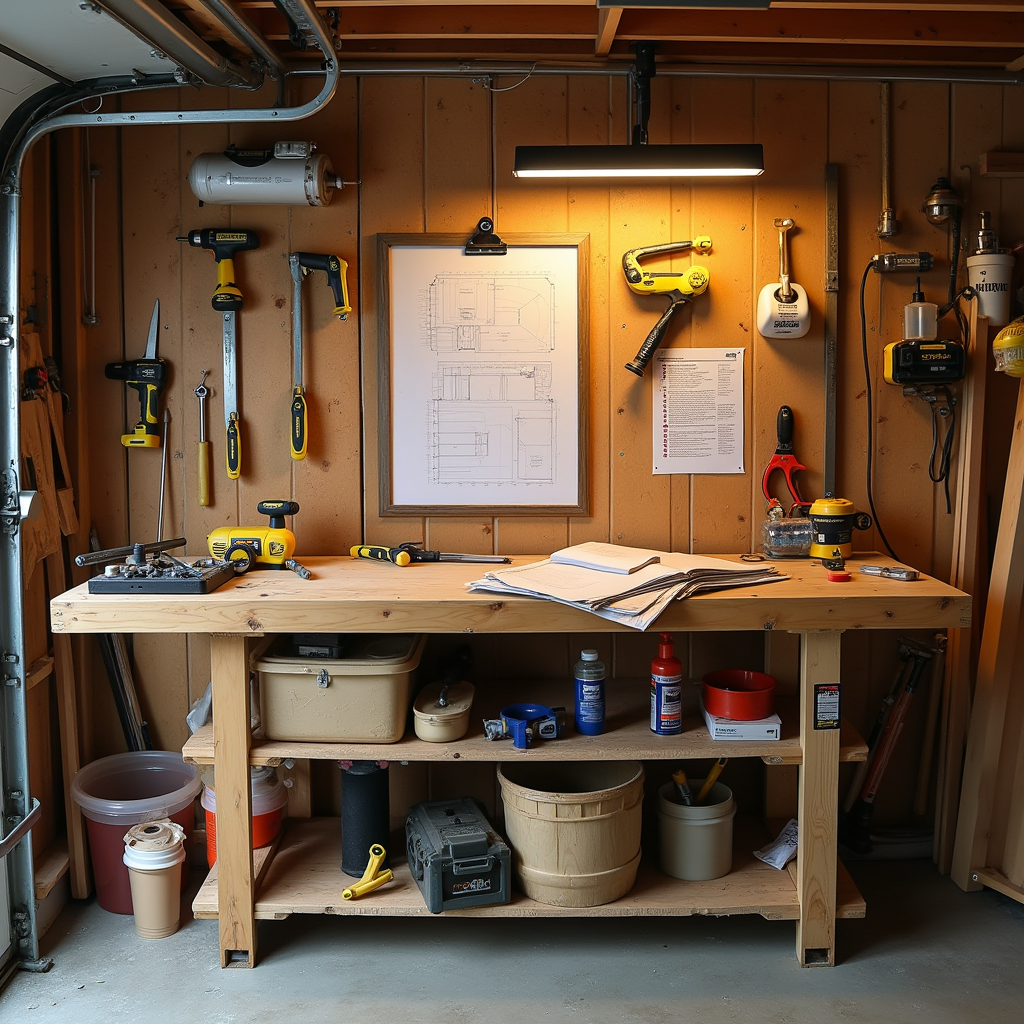
Step 3: List Materials and Tools
A well-thought-out materials list prevents unnecessary trips to the store. Categorize your list into:
- Materials: Lumber, paint, screws, tiles, etc.
- Tools: Drill, saw, measuring tape, level, etc.
- Safety Gear: Gloves, safety glasses, dust mask, ear protection.
If you don’t own certain tools, check if you can rent them from Menards or borrow from a friend.
Step 4: Create a Step-by-Step Plan
Break your project into manageable tasks:
- Preparation – Measure the space, order materials, and clear the work area.
- Demolition (if needed) – Remove old materials safely.
- Construction – Build, install, or assemble new components.
- Finishing Touches – Paint, seal, or decorate as needed.
- Cleanup – Dispose of waste responsibly and enjoy your work!
Step 5: Set a Realistic Timeline
Use a calendar to block off work time. Consider:
- Time for ordering and receiving materials.
- Drying/curing times for paint, glue, or concrete.
- Extra days for unexpected issues.
If it’s your first time doing a particular task, allow extra time for learning and problem-solving.
Step 6: Track Your Progress and Adjust
As you work, keep notes on:
- What’s working well.
- Unexpected challenges.
- Any changes to the budget or timeline.
Being flexible and adjusting your plan as needed will keep things running smoothly.
Final Thoughts
Using a DIY project planner transforms your home improvement ideas into a structured, achievable plan. With careful preparation, budgeting, and step-by-step execution, you’ll complete your project with confidence and efficiency. Need help – use https://chillldiy.com/!